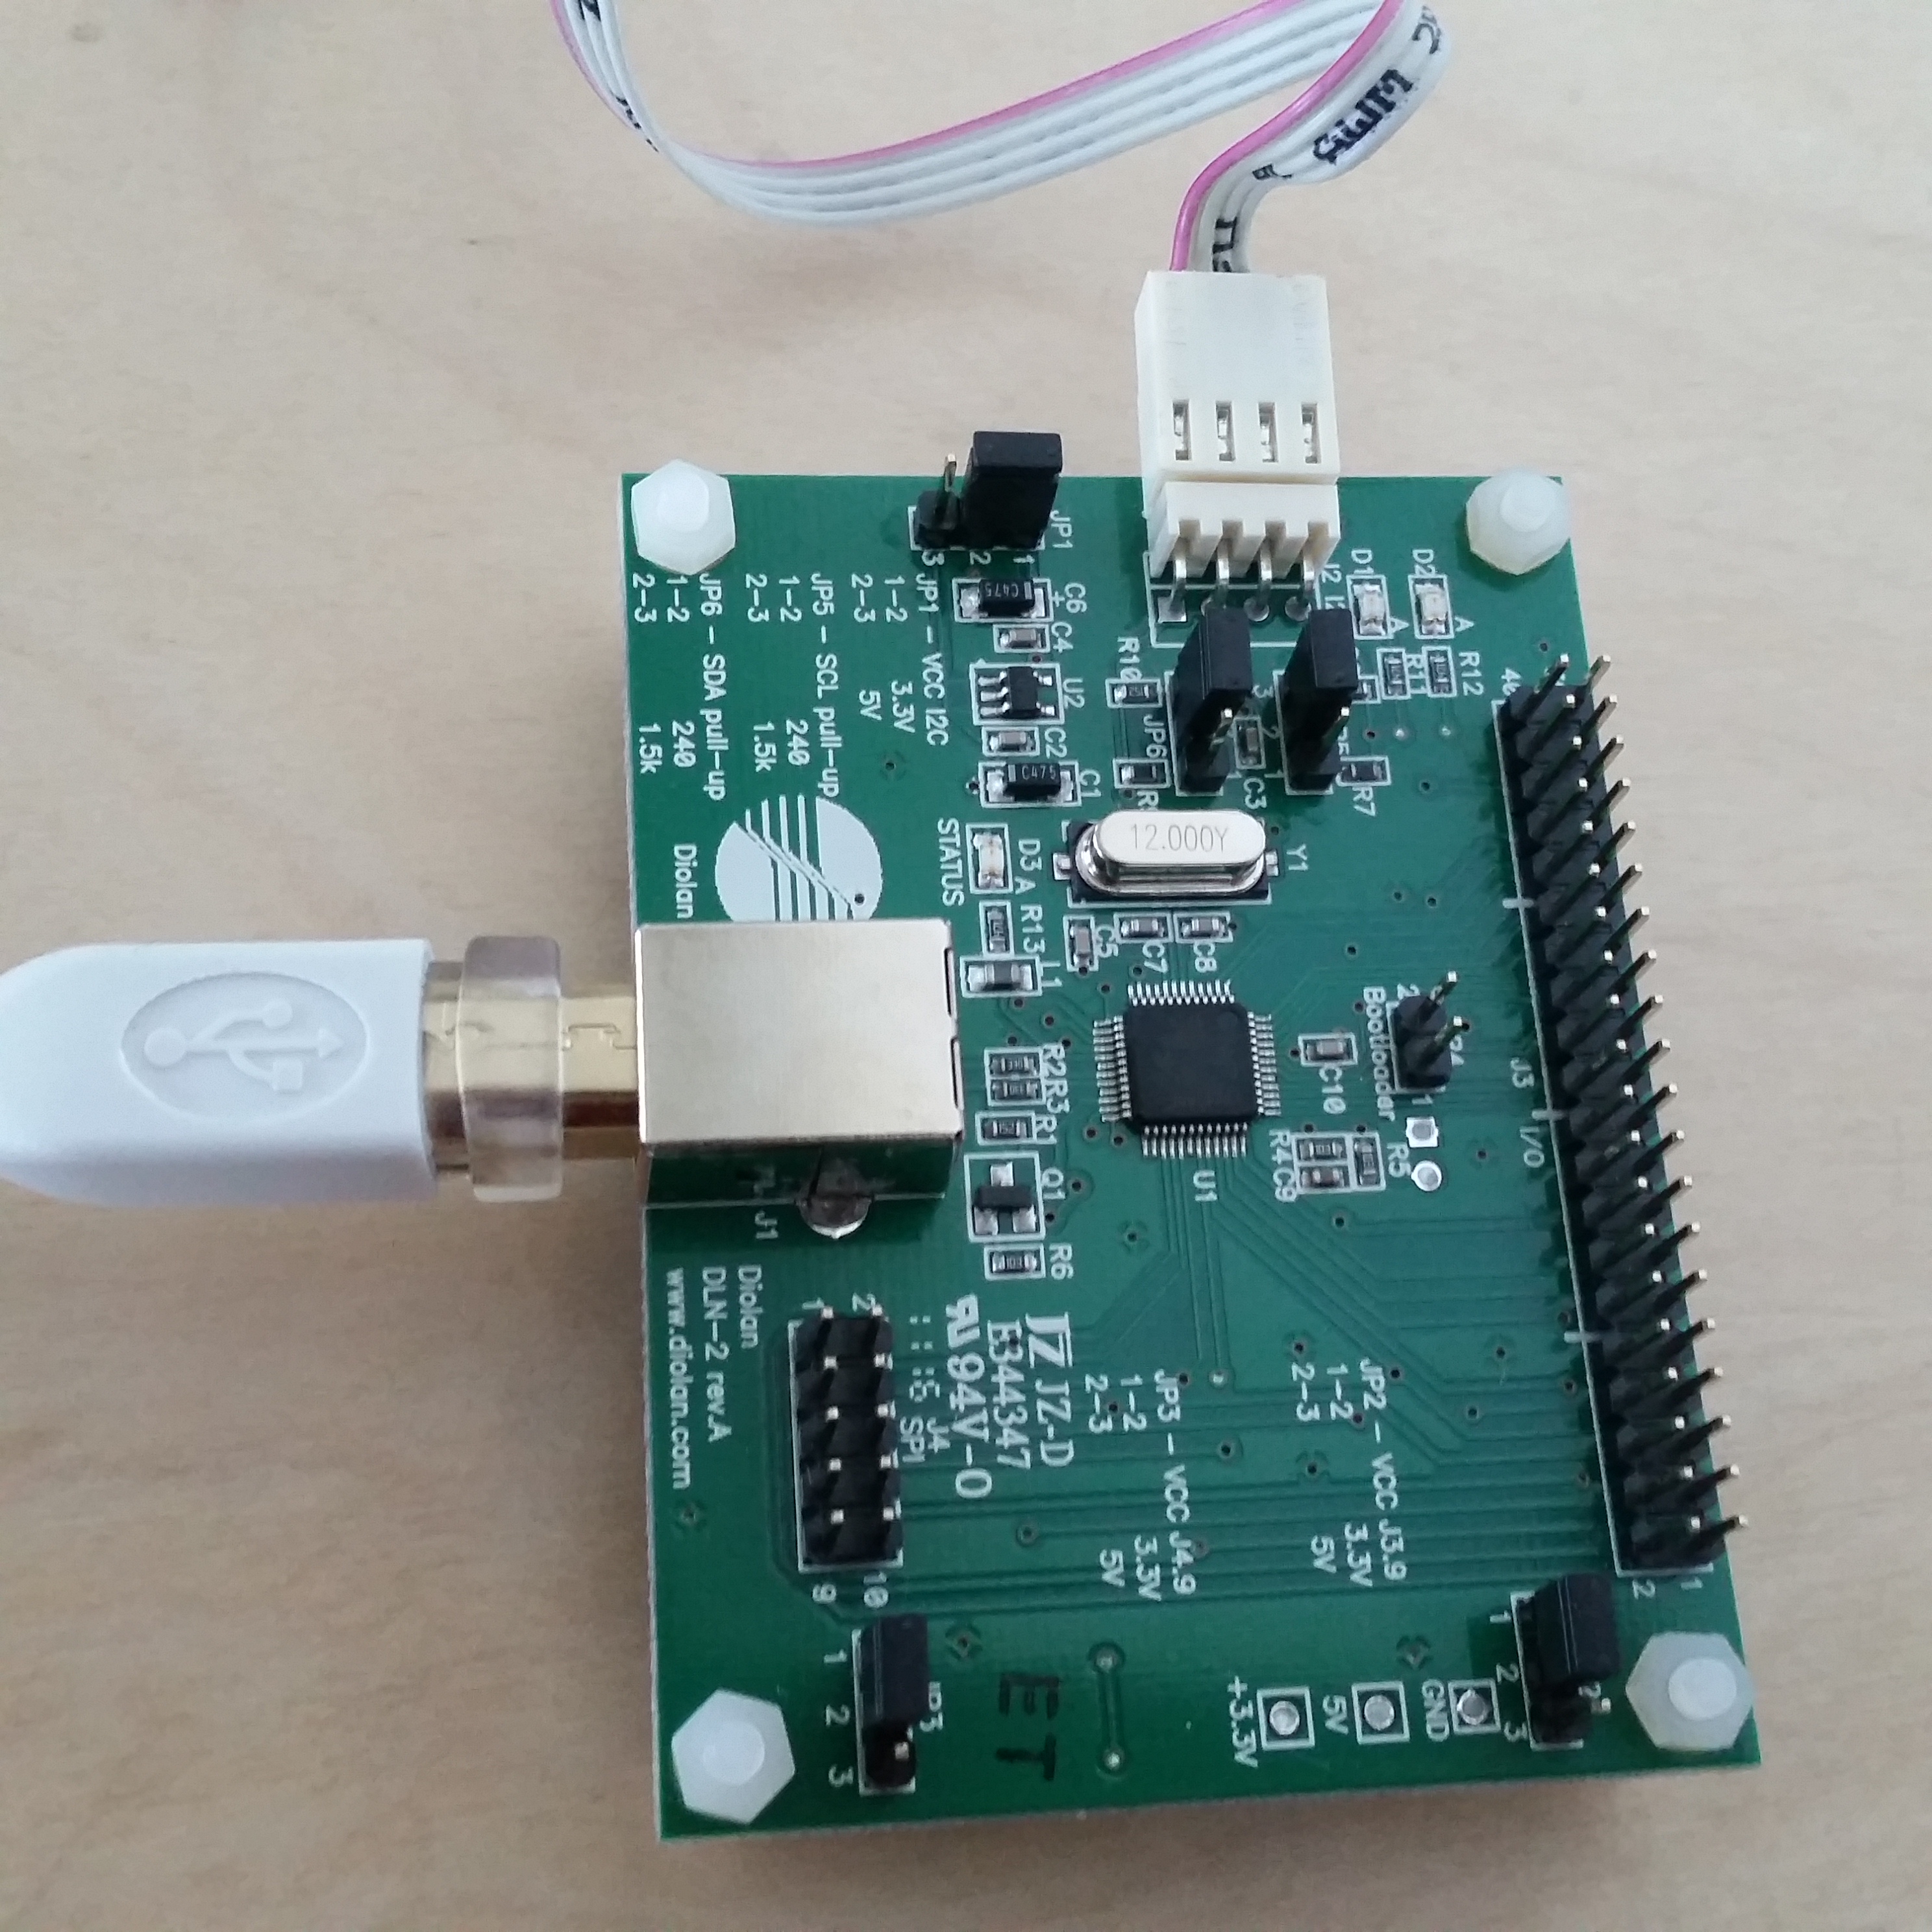
New hardware setup using DLN-2 Adapter
In my last post, I described the hardware setup using the UDOO NEO board. UDOO was fun to play with and I successfully managed to make it work with our IIO kernel. However, copying the kernel to the microSD, everytime changes were made, was not very convenient. So, we came up with solutions to this problem and one way of solving this was to boot over network. Unfortunately, this version of UDOO Neo doesn’t have an Ethernet port. Besides, UDOO is a little more complex than we need for our purpose now. So, to speed things up, my mentors equipped me with an USB-to-I2C adapter.

This is a diolan adapter (DLN-2). In order to set it up, I moved the jumpers to change voltage supply to 3.3 V. I already have pull-up resistors on the breakout board, for SDA and SCL, so I only needed to connect the corresponding pins using Diolan’s hooks.
Software
I use QEMU for testing. In order to be able to work with the Diolan from QEMU, select ‘Y’ for kernel configuration option CONFIG_I2C_DLN2.
After writing a probe function for my sensor and loading the module (I’ll detail code implementation in another post) I can see my device listed.
cat /sys/bus/iio/device/iio\:device0/name
ccs811
But before being able to see this, you need to instantiate your I2C device! There are several ways to accomplish this and you can find more information here Documentation/i2c/instantiating-devices
This is it!